
Getting started with the Edge WAF
- English
- 日本語
If your web application uses a Fastly CDN or Compute service, you can integrate the Next-Gen WAF into your request flow by enabling an Edge WAF deployment. Like your CDN or Compute service, Fastly delivers the Edge WAF through our global network of POPs. This means that you don’t have to make any changes to your hosting environment (e.g., installing clients or applications locally). The Edge WAF is able to process a request within a few milliseconds.
Prerequisites
Before enabling the Edge WAF, be sure you have the following prerequisites in place:
- You must purchase the Next-Gen WAF for your Fastly account by contacting sales@fastly.com. Once purchased, our staff will give you access to the Next-Gen WAF product in either the Fastly control panel or the Next-Gen WAF control panel. Our staff will also create a Next-Gen WAF corp (also known as account) and at least one site (also known as workspace) for your use.
- If you have access to the product in the Fastly control panel, you must be assigned the superuser role in order to enable the Edge WAF. If you only have access to the product in the Next-Gen WAF control panel, you must be assigned the owner role in order to enable the Edge WAF.
- You must have an existing CDN or Compute service that you want to map to an existing Next-Gen WAF site (workspace).
Quick start
Once all prerequisites have been met, you can enable the Edge WAF for your web application. If you're able to access the WAF using the Fastly control panel, follow the Fastly control panel instructions. Otherwise, use the Next-Gen WAF control panel instructions.
HINT: Have a Compute service? Check out our tutorial.
- Fastly control panel
- Next-Gen WAF control panel
- Log in to the Fastly control panel.
- From the Home page, select the appropriate service. You can use the search box to search by ID, name, or domain.
- Click Edit configuration and then select the option to clone the active version.
Click Security.
In the Next-Gen WAF card, click the pencil
 to edit the following deployment settings and then click Submit:
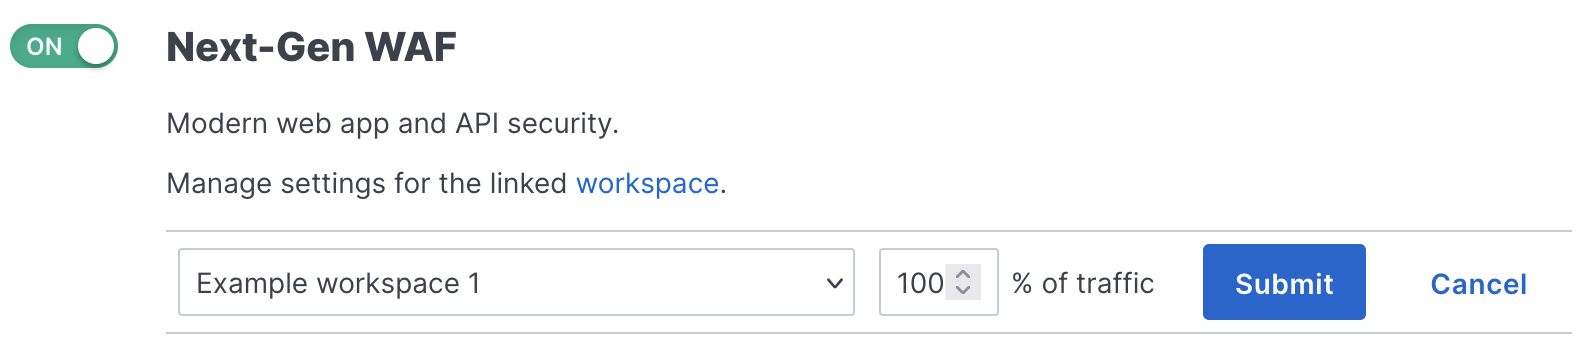
- From the Workspace menu, select the workspace that you want to link to the service. If your account only has one workspace, this field is read-only.
- In the % of traffic field, enter the percentage of traffic that you want the Next-Gen WAF to inspect. When set to
100, all traffic to your service is inspected. When the value is less than 100, a random sample of the specified percentage is inspected.
Click the switch to the On position.
(Optional) Use attack tooling to verify that the Next-Gen WAF is monitoring your web application and identifying malicious and anomalous requests.
What’s next
Learn more about how the Edge WAF works and adjust the protection of your web application as needed.
